MECCHA CHAMELEON Tips & Strategies
Expert-level tips for both Hiders and Seekers. From the eyedropper trick to wallkicks — everything you need to dominate.
General Tips for Both Roles
- Use prep time wisely: Spend the first third of prep choosing your hiding zone, the middle third painting, and the final third refining edges and locking your pose.
- Treat each round as three linked decisions: Location → Paint → Pose. A perfect paint on the wrong location fails. Perfect location with no paint fails.
- Move only when the game forces you to: Micro-movements during the hunt are the #1 way hiders get caught.
- Read your environment before the round starts: Walk the map during loading or between rounds. Know where color transitions, furniture clusters, and shadow zones are.
Tips by Role and Skill Level
Lock Your Pose Before Prep Ends
The #1 mistake new players make: they are still adjusting their paint when the hunt starts. Lock your pose the moment you are satisfied — moving during the hunt is the fastest way to get spotted.
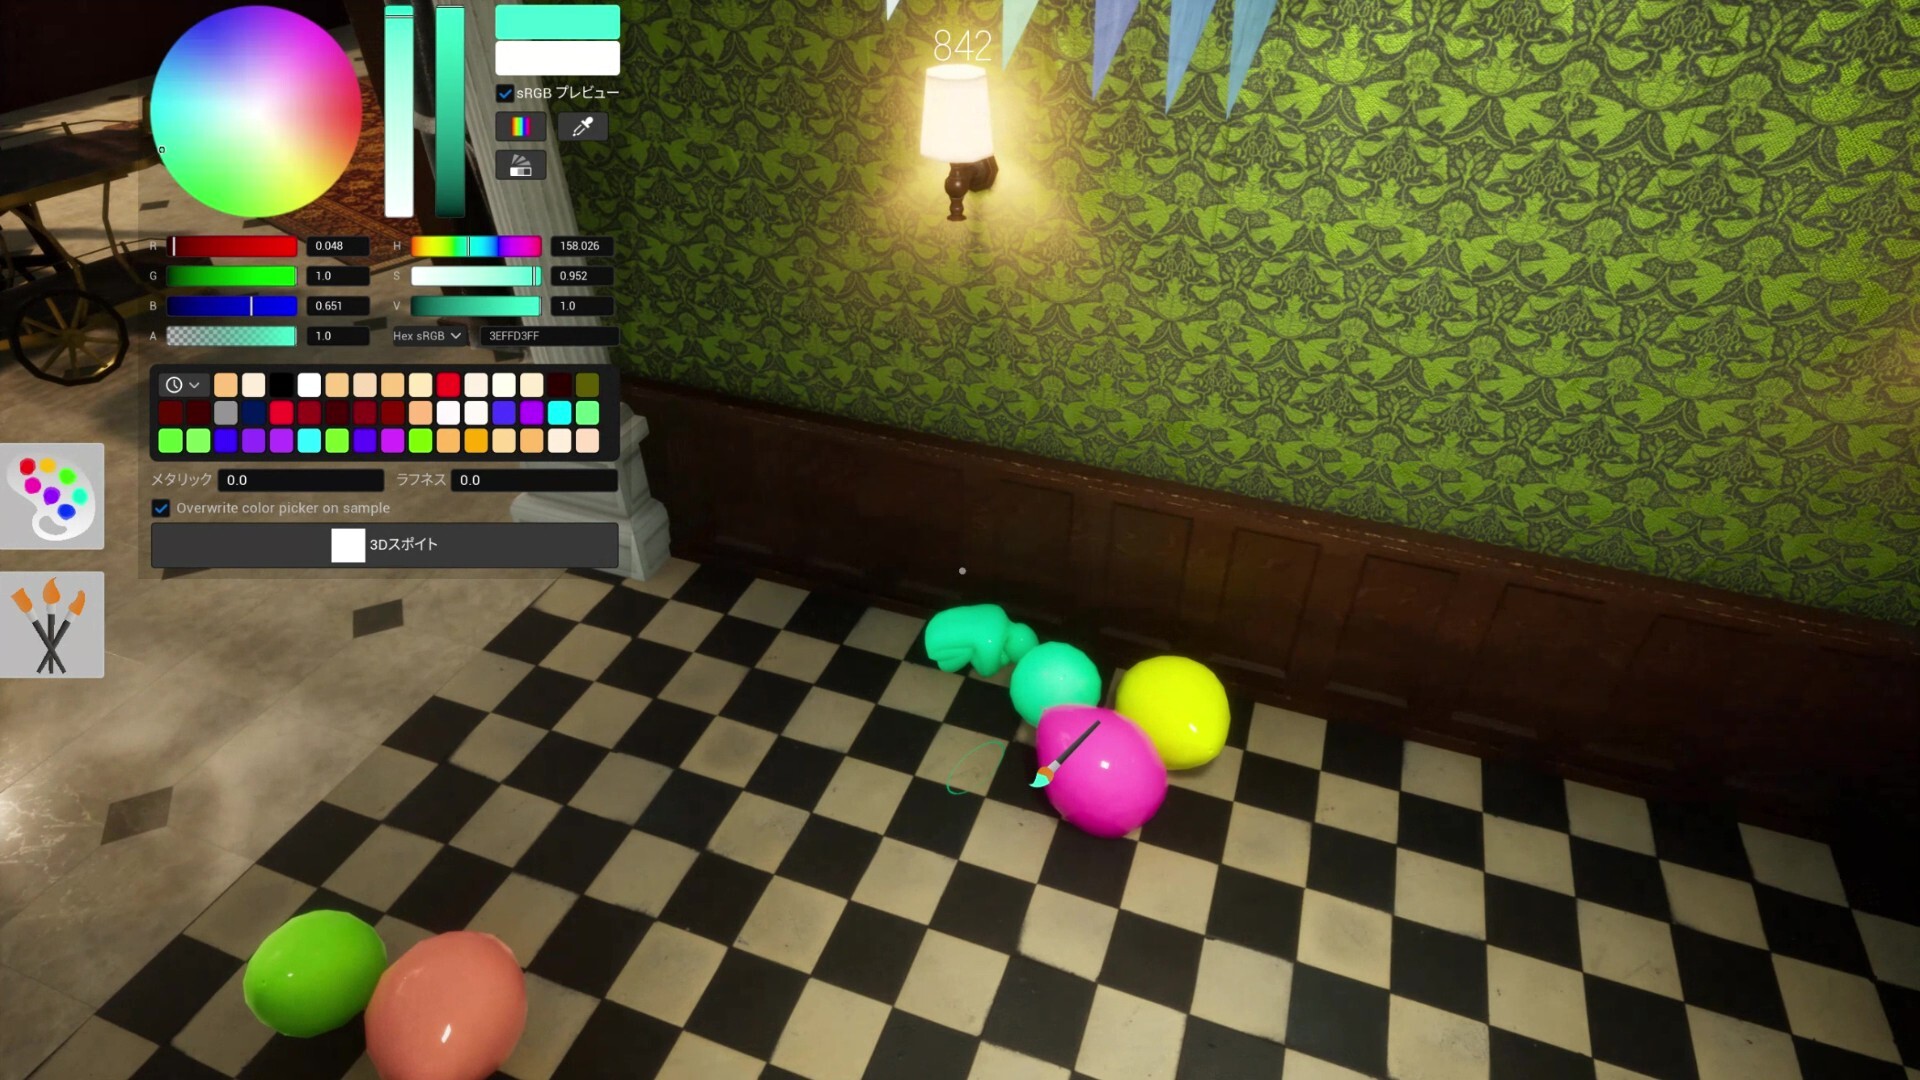
Use the Eyedropper Tool (Spacebar)
The in-game eyedropper samples colors from anything in your view. This is the single most powerful tool in your kit. Press Spacebar, look at any surface, and your painting palette automatically picks that exact color.
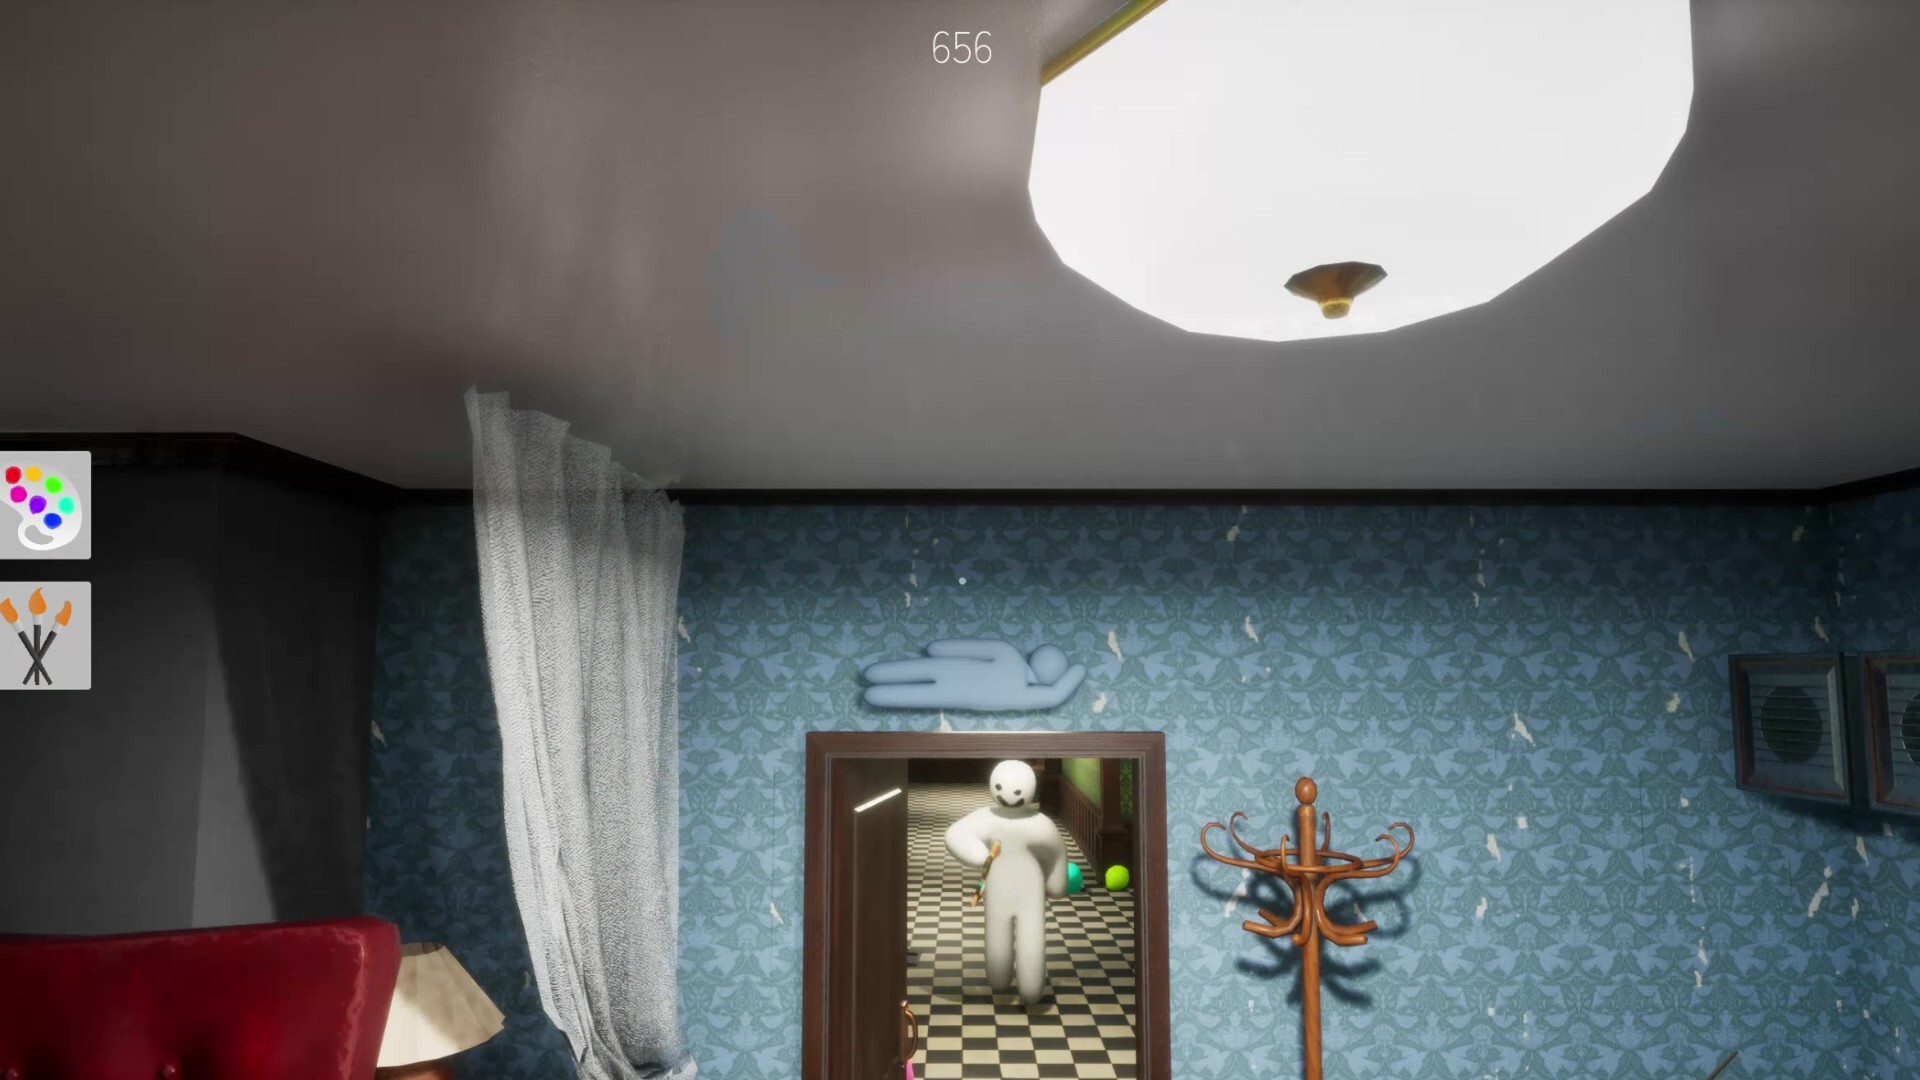
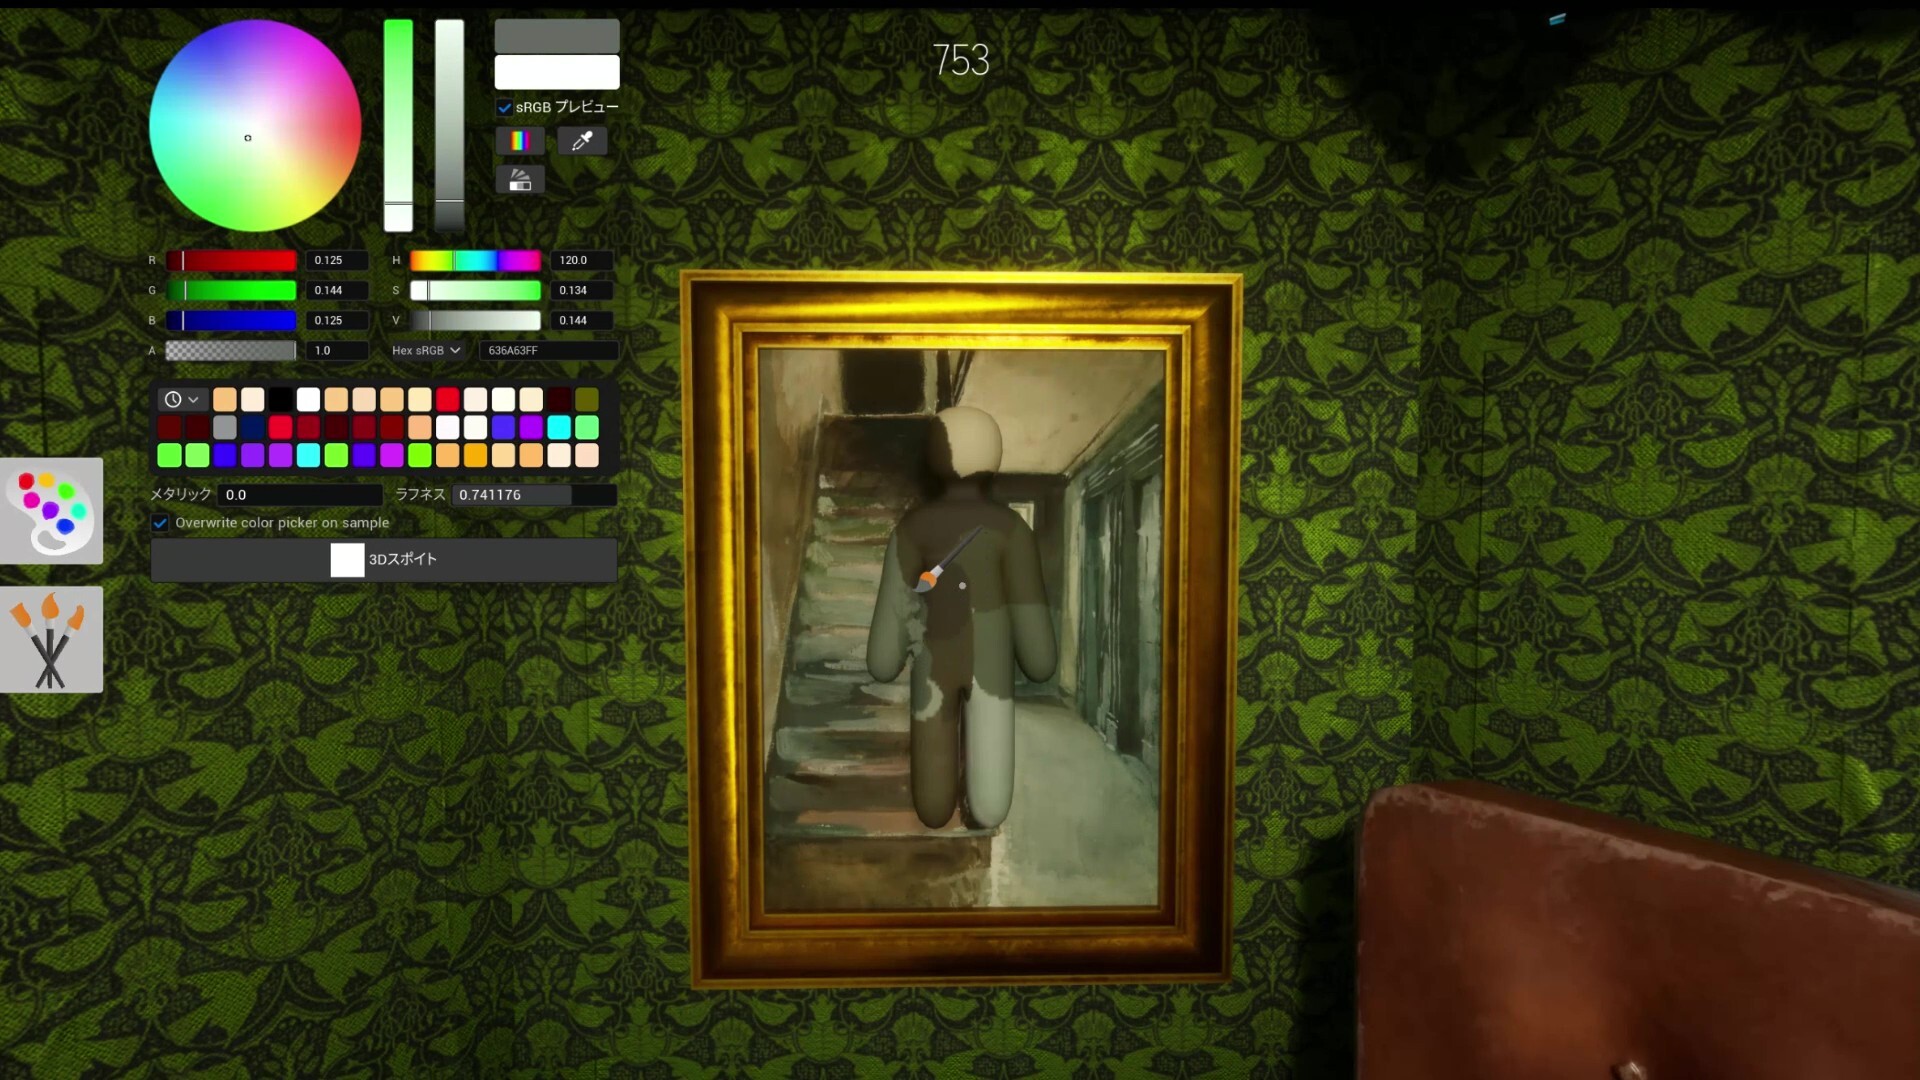
Hide Like an Object, Not a Wall
Flat walls are boring and experienced seekers scan for silhouettes. Instead, mimic specific objects: a painting on the wall, a piece of fruit on a shelf, a balloon in a party room. The more specific your mimicry, the harder you are to spot.
Find Transition Zones
The strongest positions are places where colors change — where a wall meets a floor, where one shade transitions to another, or where shadow meets light. These natural breaks in visual continuity mask your body shape.
Paint for the Camera Angle, Not Your POV
You see yourself from the front. Seekers see you from every angle. Experienced hiders paint colors that match their surroundings from multiple perspectives, including overhead lighting and side shadows.
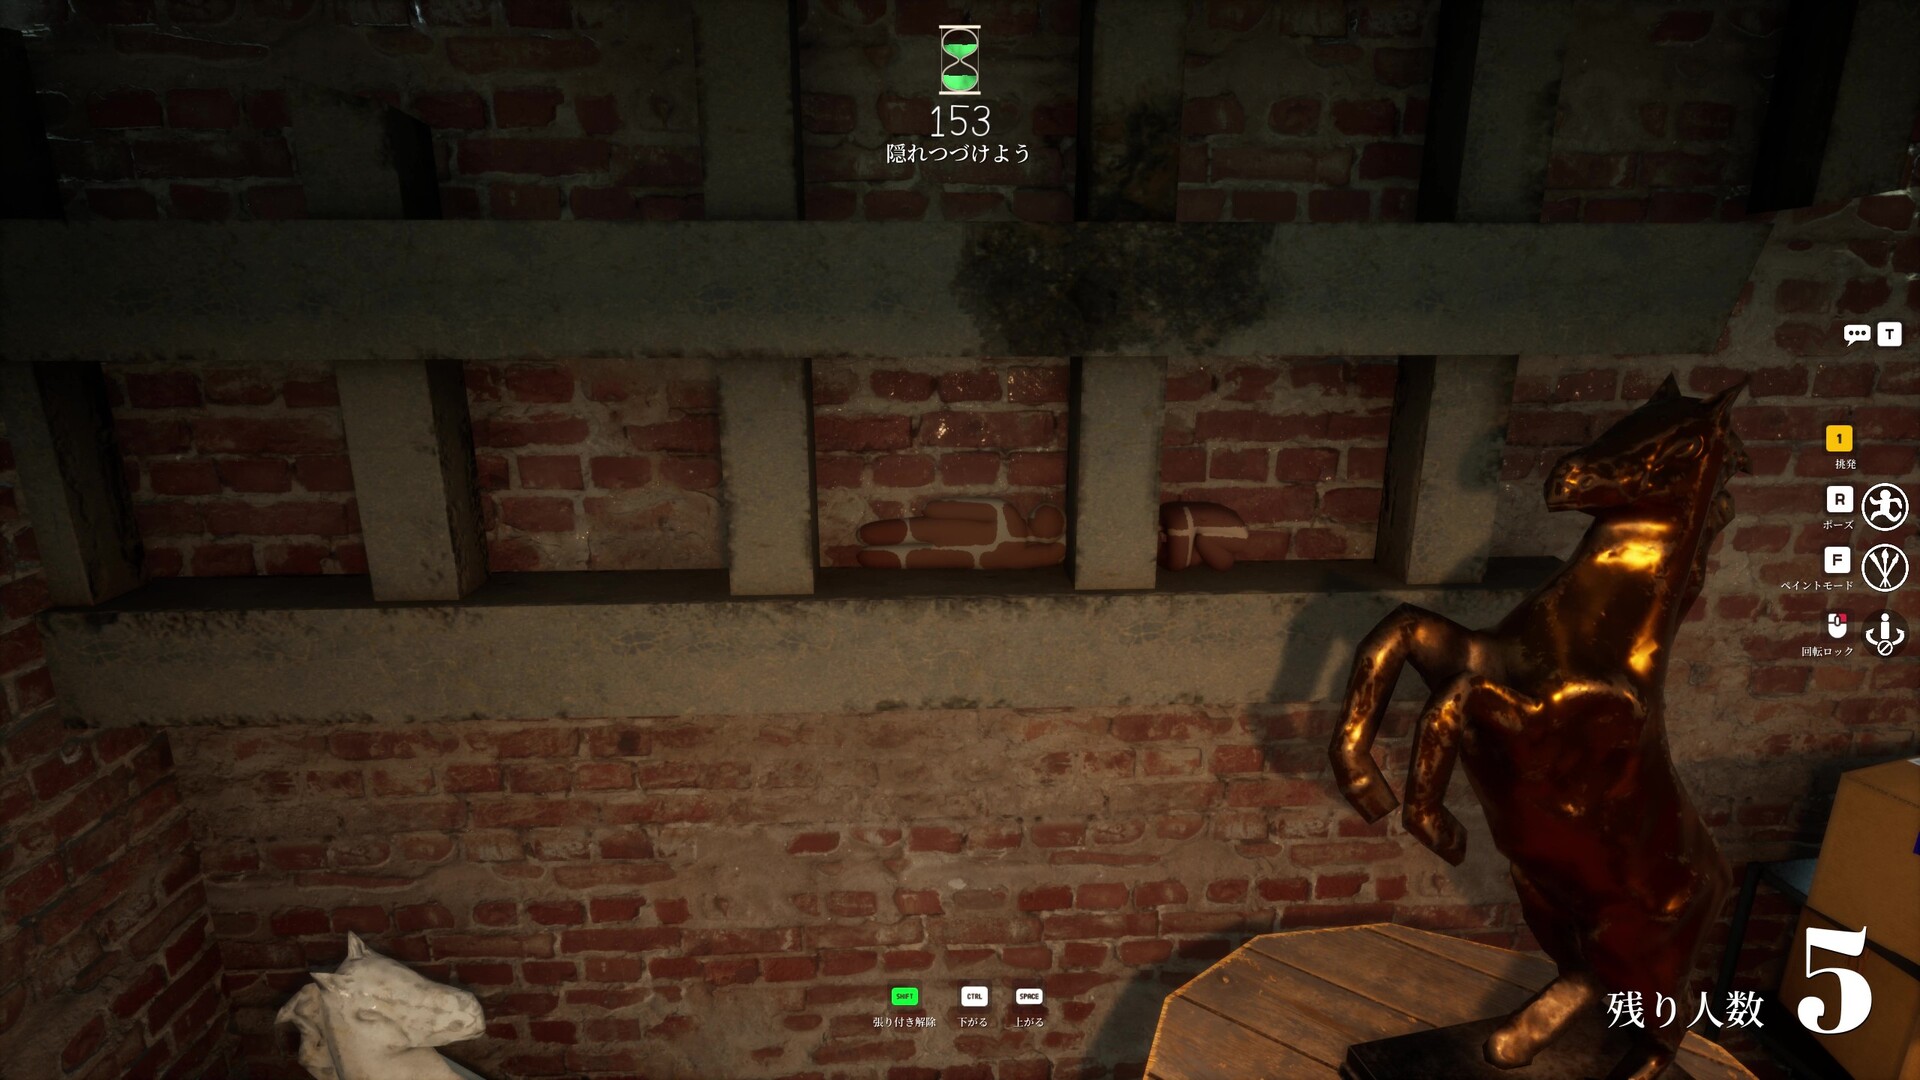
Stay Below Eye Level in Crowded Spaces
Most seekers scan at default camera height. Positioning yourself lower — crouching behind furniture, under tables, in corners near the floor — keeps you out of the primary scan zone.
Sweep Perimeter First, Then Work Inward
Always start by clearing the edges of the map — hiders naturally gravitate toward walls and corners as safe zones. Once the perimeter is cleared, sweep inward along natural choke points.
Look for Silhouette Breaks
Color matching is what most hiders focus on — but shape is harder to disguise. Look for unnatural silhouettes that don't quite match the environment: a slightly wrong angle, an outline that protrudes, a shape that does not belong.
Use the Slam to Cover Ground Fast
Crouching while airborne acts as a fast-fall, letting you drop faster than normal movement. Combined with the Wallkick (in tight spaces, the game can launch you away from walls at high speed), you can cover ground extremely quickly.
Visual Examples: What Good Camouflage Looks Like
Before you dive into the granular tips below, here is what successful hiding actually looks like in MECCHA CHAMELEON. Notice how the top-tier Hiders become objects, not walls — that's the entire skill in one image.
Best Hiding Spots Across All Maps
Check our full Maps & Hiding Spots guide for verified locations on every stage, including the Hide-and-Seek Mansion, Indoor Country, Sewer, and Backrooms.
Painting Mastery
The paint tool is deeper than it looks. Read our full Painting Guide to master the eyedropper, HSV sliders, theme saving, and advanced camouflage techniques.